Is the furniture on your patio or deck looking a little old? After being exposed to the elements throughout the year, it’s easy to see why outdoor furniture can start to look at a little worse for wear.
The good news is it only takes a little bit of elbow grease – and maybe other oils and paints – to restore its rustic charm, so this week we thought we’d give you a step-by-step guide on how to spring your outdoor wooden furniture back to life.
Clean
Outdoor furniture has an uncanny knack of gathering dust, dirt, leaves and cobwebs, so the first step is to give it a good clean before you get to work on restoring it. Use a brush or broom to give it a good scrub, and then give it a good hose down.
Strip
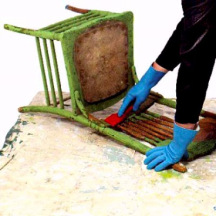
Flaking and peeling paint is a telltale sign of weathered furniture. It also seals in moisture causing the wood to rot. The next step in restoring timber furniture is stripping it down to its natural wood.
Smooth
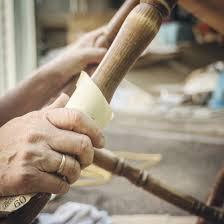
The next step involved removing rough surfaces by sanding down the piece, going with the grain of the wood. The effort put into this stage affects the overall result and it will be made easier if a good job has been done with the stripping.
Stain
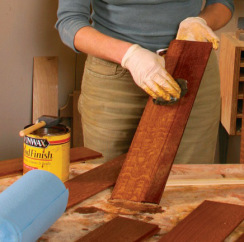
The furniture may now look like it’s been robbed of all colour but a stain will quickly remedy this. Apply the stain with a rag or a brush and leave time for it to penetrate through the wood (the longer it is left on, the darker it will be). Wipe off any excess stain with a clean rag and allow it to dry.
Finish
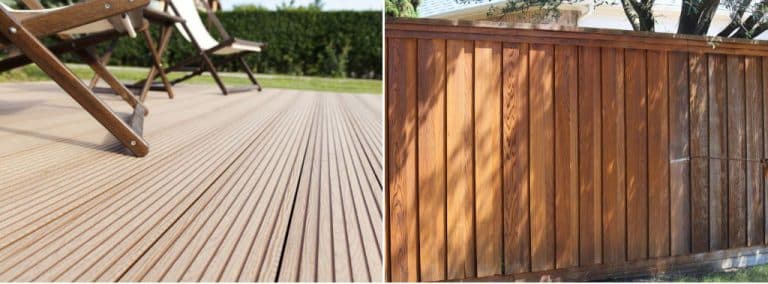
Finishes are the final protective layer for your furniture piece. There are plenty of options to choose from with different application methods but varnishes are generally popular because of its durability and high-gloss shine. Whichever you choose, follow the instructions on the packaging to finish with a flourish.
For more information on working with wood, give Hire A Hubby a call on 1800 803 339 or book a free quote here.


